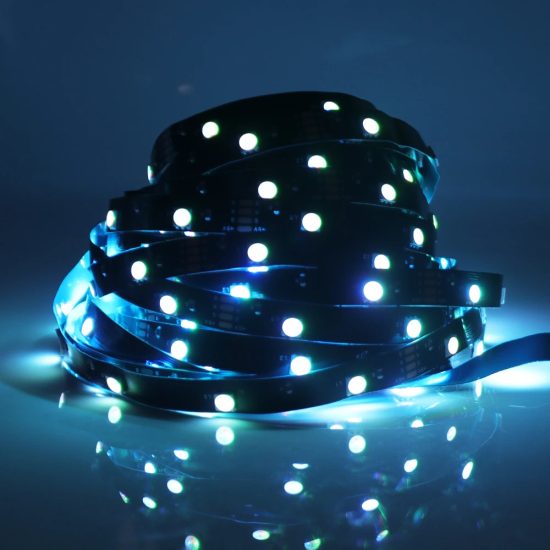
Introduction: Installing LED strip lights is a fantastic way to enhance the ambiance of your space. Whether you’re a DIY enthusiast or a novice, this step-by-step guide will walk you through the installation process, making it easy to bring vibrant and customizable lighting into your home.
- Gather Your Tools and Materials: Begin by collecting all the necessary tools and materials. This typically includes LED strip lights, a power supply, connectors, adhesive clips, a ruler, and scissors. Having everything on hand will streamline the installation process.
- Measure and Plan: Carefully measure the areas where you intend to install the LED strip lights. Plan the layout, considering corners, edges, and any obstacles. This step is crucial for achieving a polished and professional-looking result.
- Cutting the LED Strips: LED strip lights often come in reels, and you’ll need to cut them to fit your specific space. Use scissors to cut the strips along the designated cutting marks. Be cautious to cut only where indicated to avoid damaging the lights.
- Attaching Connectors: If your installation requires multiple sections of LED strips, use connectors to link them seamlessly. Follow the manufacturer’s instructions to attach connectors securely. This ensures a continuous flow of light without any interruptions.
- Preparing the Surface: Clean the surface where you’ll be attaching the LED strips. This ensures proper adhesion and prevents the lights from peeling off over time. Use a mild cleaning solution and allow the surface to dry completely before proceeding.
- Adhering the LED Strips: Peel off the backing from the adhesive side of the LED strips and carefully press them onto the prepared surface. Follow the measurements and layout you planned earlier to achieve the desired lighting effect. Take your time to avoid air bubbles.
- Securing with Adhesive Clips: For added stability, use adhesive clips to secure the LED strips along their length. This step is particularly important for installations on vertical surfaces or areas prone to movement.
- Connecting to the Power Supply: Connect the LED strips to the power supply according to the manufacturer’s instructions. Double-check that the connections are secure. Some LED strips come with a remote control or a mobile app for further customization.
- Testing and Troubleshooting: Before completing the installation, test the LED strip lights to ensure they’re functioning correctly. Address any issues or adjustments promptly, such as repositioning or reconnecting sections if needed.
- Enjoy Your Illuminated Space: Once everything is in place and working as expected, sit back, relax, and enjoy the transformed ambiance of your space. Experiment with different colors and brightness levels to find the perfect setting for any occasion.
Conclusion: With this step-by-step installation guide, illuminating your space with LED strip lights becomes a straightforward and enjoyable process. Whether you’re adding a touch of ambiance to your living room or revamping your entire home, following these steps ensures a successful and visually stunning result. Let the light shine and elevate the atmosphere of your surroundings effortlessly.