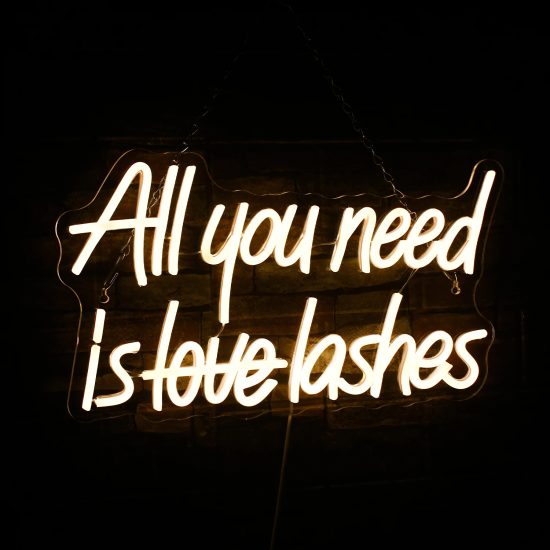
Introduction: DIY projects bring a sense of accomplishment and a unique touch to your home decor. One such creative endeavor that has gained popularity is crafting personalized letter lights. This not only allows you to express your creativity but also adds a warm and personalized glow to your living spaces. In this guide, we’ll walk you through the steps of creating your own DIY letter lights for a one-of-a-kind illuminated decor.
- Gathering Materials: To embark on your DIY letter lights adventure, you’ll need a few essential materials. Collect wooden or cardboard letters, LED light strips, a hot glue gun, and spray paint in your chosen colors. Ensure the letters are thick enough to conceal the lights but still allow a gentle glow to shine through.
- Planning Your Design: Before diving into the crafting process, plan the design of your letter lights. Decide whether you want a uniform color scheme or a vibrant mix. Consider the placement of lights – whether you want them scattered across the entire letter or concentrated in specific areas for a dynamic effect.
- Prepping the Letters: Begin by prepping your letters for the transformation. If using wooden letters, sand them down for a smooth surface. For cardboard letters, reinforce them with additional layers to provide ample support for the lights. This step ensures a polished final result.
- Attaching the Lights: Use your hot glue gun to affix the LED light strips to the letters. Follow the contours of each letter, securing the lights in place as you go. Pay attention to details, ensuring a consistent and evenly distributed illumination. Take your time during this step for a professional finish.
- Adding a Personal Touch: Enhance the personalized aspect of your DIY letter lights by adding your own flair. Consider incorporating patterns, stencils, or even small trinkets that hold sentimental value. This step allows you to infuse your personality into the project and create a truly unique illuminated piece.
- Painting and Finishing: Once the lights are securely attached, it’s time to add color. Choose spray paint in colors that complement your decor scheme. Apply even coats, allowing each layer to dry before adding the next. This step not only adds vibrancy but also provides a polished appearance to your DIY creation.
Conclusion: Crafting personalized letter lights is a rewarding and enjoyable DIY project that allows you to showcase your creativity. By following these steps and infusing your personal touch, you can create a stunning illuminated decor piece that reflects your style and adds a warm glow to any room. Enjoy the process, embrace your creativity, and let your DIY letter lights shine bright in your home.


