Smart strip lights have gained immense popularity for their versatility and ability to transform the ambiance of any space. If you’re looking to elevate your home lighting with a touch of innovation, this guide will walk you through the step-by-step process of installing and programming smart strip lights for a DIY lighting experience.
1. Gather Your Materials:
Before you begin, make sure you have all the necessary materials:
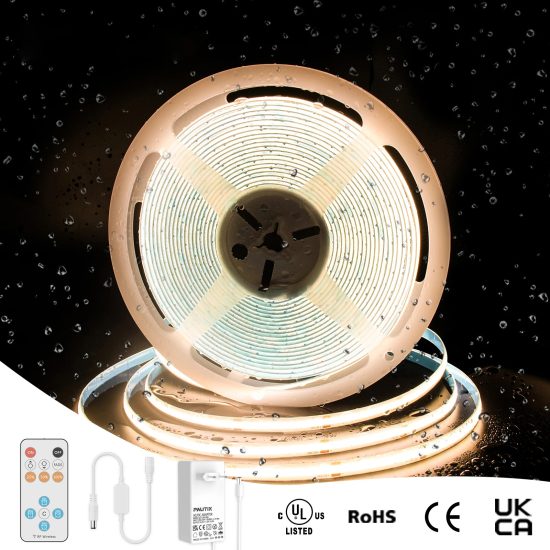
- Smart strip lights kit
- Power supply
- Connectors (if needed)
- Wi-Fi-enabled device (smartphone, tablet, or voice assistant)
- User manual
2. Plan Your Installation:
- Measure and Cut: Measure the areas where you plan to install the smart strip lights. Most kits allow you to cut the strips to the desired length. Use the designated cut marks on the strips.
- Clean the Surface: Ensure the surface where you’ll be attaching the strips is clean and dry. This helps the adhesive on the back of the strips adhere securely.
3. Connect the Strips:
- Use Connectors (if needed): If your installation involves corners or gaps, use connectors to link different segments of the strips. Follow the manufacturer’s instructions for secure connections.
- Power Supply Connection: Connect the smart strip lights to the power supply. Ensure the arrows on the strips align with the arrows on the connectors or power supply to maintain the correct polarity.
4. Install the Smart Strip Lights:
- Peel and Stick: Carefully peel off the adhesive backing on the strips and firmly press them onto the desired surfaces. Take your time to ensure straight and smooth placement.
- Apply Pressure: After sticking the strips, apply gentle pressure along their length to enhance the adhesion. Pay extra attention to corners and edges.
5. Pair with Smart Devices:
- Download the App: Most smart strip lights come with a dedicated app. Download and install the app on your smartphone or tablet.
- Pair with Wi-Fi: Follow the app’s instructions to connect the smart strip lights to your Wi-Fi network. This step is crucial for remote control and automation.
6. Program the Smart Strip Lights:
- Explore Color Options: Open the app and explore the various color options and scenes available. Experiment with different shades and effects to find the perfect lighting for your space.
- Set Timers and Schedules: Take advantage of the smart features by setting timers and schedules. Program the lights to turn on gradually in the morning or create a relaxing evening ambiance.
- Sync with Music (if available): If your smart strip lights support music syncing, explore this feature for a dynamic lighting experience. Follow the app’s instructions to sync the lights with your favorite tunes.
7. Test and Adjust:
- Verify Connectivity: Test the connectivity by turning the lights on and off using the app. Ensure all segments are responding correctly.
- Adjust Placement if Needed: If you’re not satisfied with the placement or the lighting effect, feel free to reposition the strips or make adjustments in the app until you achieve the desired result.
Congratulations! You’ve successfully installed and programmed your smart strip lights. Enjoy the flexibility and creativity they bring to your home lighting. Whether you’re hosting a party, creating a cozy atmosphere, or simply enhancing your daily routines, smart strip lights offer a personalized and dynamic lighting solution.