Creating your own custom neon lights at home is not only a fun and rewarding DIY project but also a fantastic way to add a personalized touch to your space. In this step-by-step guide, we’ll walk you through the process of crafting your own neon masterpiece, transforming your creative vision into a glowing reality.
1. Gather Your Materials: Neon Kit Essentials
Before diving into the DIY neon adventure, ensure you have all the necessary materials. A neon light kit typically includes neon tubing, connectors, electrodes, transformer, and a power supply. Additionally, you’ll need tools such as pliers, wire strippers, and a heat gun for shaping the tubing. Make sure to work in a well-ventilated area and follow safety precautions.
2. Design Your Neon Masterpiece: Planning is Key
Sketch out your design on paper, considering the size, shape, and curvature of the neon tubing. Keep in mind that complex designs may be challenging for beginners, so start with a simple and achievable pattern. Whether it’s your name, a favorite quote, or a unique symbol, planning your design in advance will make the crafting process smoother.
3. Bend the Neon Tubing: Shaping Your Creation
Using pliers and a heat gun, carefully bend the neon tubing according to your design. Take your time with this step, as precision is crucial for achieving the desired shape. Be cautious not to overheat the tubing, as it can affect the integrity of the neon glass. Pay close attention to curves and angles, ensuring your design looks as intended.
4. Connect the Electrodes: Bringing Light to Your Design
Attach electrodes to each end of the neon tubing. These electrodes will facilitate the flow of electrical current, causing the neon gas to glow. Ensure a secure and tight connection to prevent any interruptions in the electrical circuit. Once the electrodes are attached, inspect your design to confirm that the tubing is correctly shaped and aligned.
5. Seal the Ends: Preserving Your Neon Creation
To maintain the integrity of the neon gas and prevent any leaks, seal the ends of the neon tubing using specialized glass sealant. Apply the sealant evenly and allow it to dry completely before moving on to the next step. Proper sealing ensures the longevity of your custom neon light and protects it from environmental factors.
6. Connect to the Power Supply: Lighting Up Your Creation
Connect the neon tubing to the transformer and power supply included in your kit. Ensure that all connections are secure and follow the manufacturer’s instructions for wiring. Once everything is set up, power on your DIY neon light, and watch as your creation comes to life with a vibrant and glowing illumination.
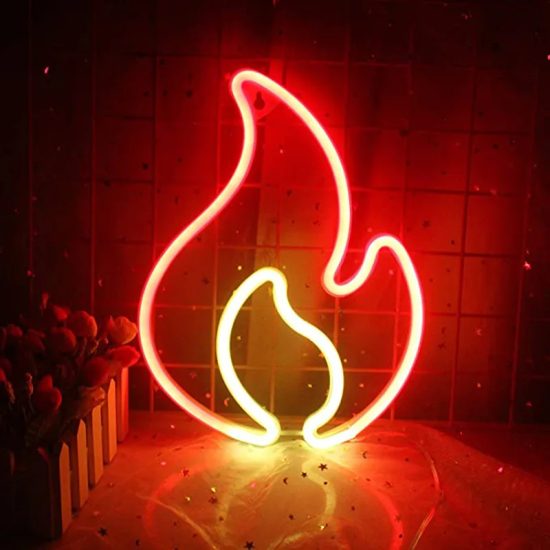
7. Display Your Custom Neon Creation: Showcasing Your Artwork
Find the perfect spot to display your custom neon creation. Whether it’s a wall-mounted sign, a desk lamp, or a unique piece of decor, your DIY neon light is ready to add a personalized touch to your space. Experiment with different placements and enjoy the warm and captivating glow of your handmade masterpiece.
In conclusion, creating your own custom neon lights at home is a creative and fulfilling project that allows you to showcase your artistic flair. With careful planning, precision, and attention to safety, you can transform neon tubing into a unique and glowing expression of your creativity. So, roll up your sleeves, gather your materials, and let the neon magic begin!